Key Takeaways
- Pool service is plumbing work in disguise: pumps, suction lines, return manifolds, and backwash plumbing all follow the same hydraulic rules.
- A technician who can read pressure differentials, identify pipe materials, and isolate leaks resolves more calls on the first visit and refers fewer jobs out.
- Schedule 1 tools (channel locks, PVC cutter, thread sealant, pressure gauge, slip-joint pliers) handle the majority of in-field plumbing repairs on residential equipment pads.
- Understanding the difference between a suction-side leak and a pressure-side leak changes the entire diagnostic path, and it is the single most useful plumbing concept a route tech can learn.
- Superior Pool Routes has trained route owners since 2004, and plumbing literacy is consistently the skill that separates a $90 service call from a $400 repair invoice.
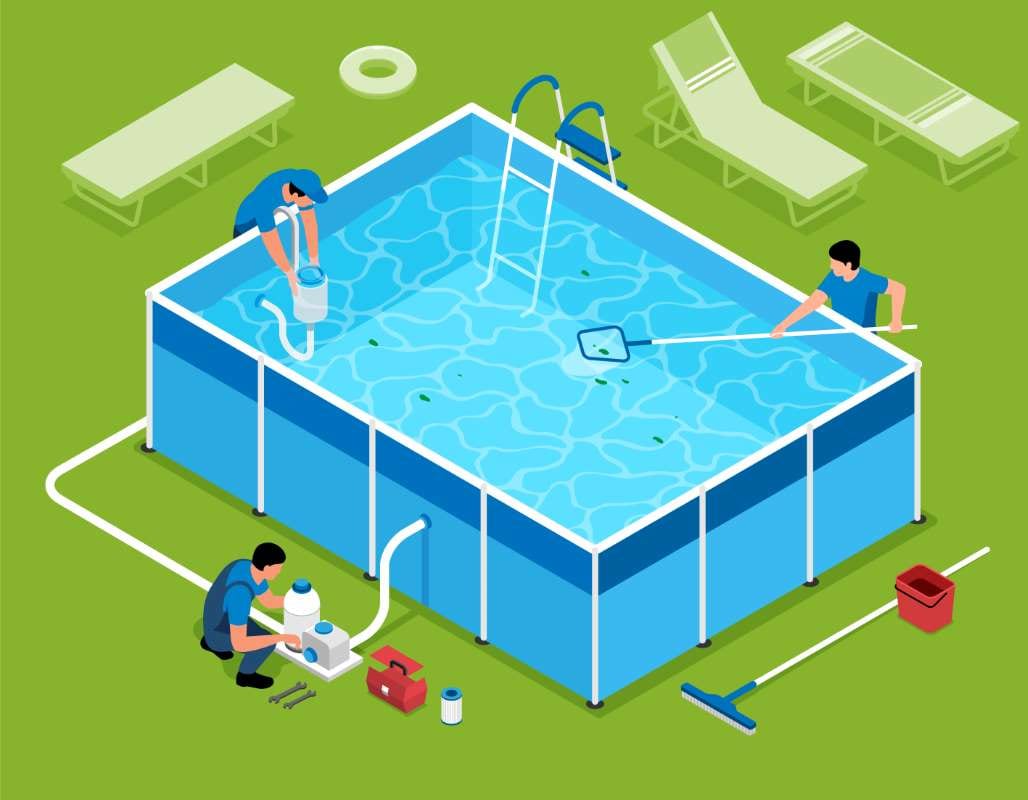
Pool service technicians spend most of their working day in front of a piece of plumbing. The equipment pad is a small, exposed water system: a pump pulling through a suction manifold, a filter pushing back through a return manifold, a heater, sometimes a salt cell, and a network of two-inch PVC tying it together. Skimmers and main drains are plumbing. Returns are plumbing. The backwash line running off into the yard is plumbing. Yet many technicians treat the equipment pad as a black box, swapping parts when something fails rather than diagnosing why it failed in the first place.
That gap is where money is left on the table. A tech who understands hydraulics, pipe materials, and basic leak isolation closes calls faster, sells fewer unnecessary parts, and earns the trust that turns a one-time service into a recurring route account. The plumbing concepts involved are not advanced. They are the same concepts a residential plumber learns in the first year of an apprenticeship, applied to a slightly different set of fixtures.
Why Plumbing Literacy Pays on a Pool Route
Routes in Florida, Texas, Arizona, and Nevada run on volume. A typical residential route is between 40 and 60 stops a week, with each stop budgeted at roughly 20 to 25 minutes. Anything that pulls a tech off the route, whether that is a callback for a leak that was not actually fixed or a 90-minute diagnostic on a pad that should have taken 15, erodes the margin on the entire week.
Plumbing knowledge collapses diagnostic time. Consider the most common service call in the trade: the pump is running but the basket is half empty and the pressure gauge is reading low. A tech without a hydraulic framework starts guessing. Is it the impeller? The shaft seal? The pump lid o-ring? A tech who understands that an air leak on the suction side will produce exactly those symptoms goes straight to the union fittings, the pump lid, the drain plugs, and the valve stems on the suction manifold. The fix is often a fresh lube on the lid o-ring or a tightened drain plug. Total time, under ten minutes.
The same principle applies to high pressure readings, slow priming, chronic air in the pump basket, and weeping unions. Each of these has a textbook plumbing explanation. A tech who can name the cause closes the ticket and moves on. A tech who cannot ends up scheduling a return visit, often with the wrong part in the truck.
Superior Pool Routes has been placing route owners with established accounts since 2004, and the operators who scale fastest are consistently the ones who treat the equipment pad as a system rather than a parts catalog. Plumbing literacy compounds. Every call where you correctly diagnose the issue builds reputation, which builds referrals, which builds the route.
The Two Sides of the Pad: Suction and Pressure
The single most useful concept a pool tech can internalize is the suction-versus-pressure distinction. Everything upstream of the pump impeller is under suction, meaning the pressure inside the pipe is lower than atmospheric pressure outside. Everything downstream of the impeller is under pressure, meaning the pressure inside the pipe is higher than atmospheric.
This sounds elementary until you realize it dictates how leaks behave. A leak on the suction side does not drip water out. It pulls air in. You will see bubbles in the pump basket, hear the pump running rough, watch the pressure gauge sag, and often see the pump lose prime entirely. There may be no visible water on the pad at all.
A leak on the pressure side does the opposite. Water is being pushed out through the breach, so you see actual dripping or spraying, the filter pressure may read low if the leak is large, and the pump itself runs normally.
Once a tech absorbs this, the diagnostic tree gets dramatically shorter. Air in the basket? Walk the suction side. Water on the pad? Walk the pressure side. The skimmer line, main drain line, and any suction-side valves and unions become the first place you look for one set of symptoms. The filter, heater, returns, and pressure-side valves become the first place you look for the other.
Common Suction-Side Failure Points
The pump lid o-ring is the most frequent culprit. It dries out, especially on pads in direct Arizona or Texas sun, and starts pulling air. A lubricated o-ring with magic lube or a silicone-based pool lube usually solves it. If the o-ring is cracked or flattened, replace it. They run a few dollars at the supply house.
Drain plugs on the pump volute lose their o-rings the same way. So do the threaded plugs on multiport valves.
Union fittings between the pump and the suction manifold work loose over time, especially if someone has cross-threaded them on a previous service. Hand-tight is the spec on most pool unions. A pipe wrench will crack the collar.
Valve stems on Jandy and similar three-port valves wear out. The stem packing dries, and air sneaks past the stem when the pump is running. A small dab of pool lube on the stem and the o-ring underneath usually buys another season.
Common Pressure-Side Failure Points
The multiport valve o-ring, the one between the valve body and the filter tank, weeps when the filter is overdue for service or the spider gasket inside the multiport has failed. A backwash that does not stop completely points to the spider gasket.
Heater header gaskets fail with age, especially on heaters running propane or natural gas in hard water areas. The leak typically appears at the inlet or outlet header, visible as a steady drip during pump operation.
Return-side unions, like their suction-side counterparts, loosen over time.
Filter clamp bands on cartridge filters need to be torqued correctly. Over-tightening cracks the tank lip. Under-tightening produces a slow weep that often gets blamed on the cartridge itself.
Pipe Materials You Will Encounter
Almost all residential pool plumbing on equipment pads is schedule 40 PVC, white, two-inch nominal diameter, joined with primer and solvent cement. This is the easiest plumbing material to work with in the trade. A handheld ratcheting PVC cutter, a can of purple primer, a can of medium-bodied cement, and a fitting kit cover most field repairs.
A few exceptions are worth knowing.
Older Florida pools, particularly homes built before the mid-1990s, sometimes use schedule 40 PVC on the suction side and a heavier wall pressure-rated PVC on the pressure side. The fittings interchange, but the wall thickness affects how the cutter bites.
Some commercial and high-end residential installs use CPVC near the heater, especially on the outlet side, because PVC begins to soften above about 140 degrees Fahrenheit. If you see beige or cream-colored pipe within two or three feet of a heater, treat it as CPVC and use the appropriate solvent cement. PVC cement will not bond CPVC reliably.
Flexible PVC, sometimes called spa flex, shows up on retrofits and tight equipment pads. It cuts and glues like rigid PVC but does not hold threaded fittings well. Avoid using it as the final connection into a threaded port. Use a short rigid stub instead.
Copper appears occasionally on older gas heater connections and on some salt cell unions. Galvanized steel is rare on modern pads but still shows up on legacy installations, particularly older fill lines tied into the home's domestic water.
Knowing the material tells you what tool to use and what solvent or sealant to reach for. PVC takes primer and cement. Threaded PVC fittings take Teflon tape, three to four wraps, in the direction of thread engagement. Brass and copper threaded fittings take a pipe dope rated for potable or pool water. Mixing these up produces leaks that show up days later, after you have already moved on to the next account.
The Tool Kit That Covers 80 Percent of Calls
A route truck does not need a plumber's full inventory. A focused kit handles most in-field plumbing repairs on pool equipment pads.
A ratcheting PVC cutter up to two inches is faster and cleaner than a hacksaw and produces no shavings to fall into the pipe. A pair of slip-joint pliers, sometimes called channel locks, twelve inches, handles pump lids, drain plugs, and most union collars. A second smaller pair, eight or ten inches, fits into tight spots near the heater.
A small adjustable wrench and a set of hex keys cover heater header bolts and pressure gauge fittings. A pressure gauge in good calibration is worth carrying as a spare. Gauges fail silently and a stuck needle masks every other diagnostic you try to run.
Purple primer, medium-bodied PVC cement, a roll of Teflon tape, a tube of pool-rated silicone lubricant, and a small assortment of two-inch fittings, including couplings, ninety-degree elbows, male and female adapters, and a few union halves, will get you out of most jams. Add a couple of pump lid o-rings sized for the common pump models on your route, a multiport spider gasket, and a heater header gasket for the dominant heater brand in your service area.
A bucket of sand or a small bag of absorbent for leaks is worth having. So is a flashlight bright enough to read the underside of the pump volute on a shaded pad.
Reading the Pressure Gauge
The pressure gauge on the filter tells a story if you know how to read it. Every filter has a baseline operating pressure, set when the media or cartridge is clean, with the pump running normally. That baseline varies by system but is typically somewhere between eight and fifteen psi.
When the gauge reads eight to ten psi above baseline, the filter needs service. Backwash a DE or sand filter, clean a cartridge. When it reads below baseline, something on the suction side is restricting flow. A clogged skimmer basket, a closed valve, a collapsed flex line, or a blocked impeller all produce the same low reading.
When the gauge spikes above the filter's rated pressure, usually marked on the tank, stop the pump. A pressure-side blockage, a closed return valve, or a stuck multiport handle can pressurize the system past the burst rating of the filter tank. Filter tank failures are dangerous. Tanks have killed people. Read the gauge before you walk away from the pad.
A tech who watches the gauge at every stop builds a mental baseline for every account on the route. When the number drifts, you catch the problem before it becomes a callback.
Where to Build the Skill
The fastest way to build plumbing literacy on a pool route is to fix things deliberately. The next time a pump is leaking at the lid, do not just tighten the lid and move on. Pull the o-ring, inspect it, lube it, reseat it, and watch the pump prime. Notice what changes. The next time the filter pressure is high, walk the pressure side before you backwash. See if a valve is half-closed. These thirty-second exercises compound over a season.
Trade supply houses, particularly the regional pool distributors, run free counter days and manufacturer training sessions on heaters, pumps, and salt systems. The training is usually thin on theory but dense on the specific product line, which is useful when you are stocking your truck.
Local code is worth knowing for any work that touches the building, particularly backflow prevention on auto-fill lines and bonding on metal equipment. A licensed plumber or electrician handles the work that crosses the code line, but a route tech who knows where the line is does not accidentally take on liability they did not bargain for.
For technicians building a route from the ground up, Superior Pool Routes pairs new owners with established accounts and the training to service them. The plumbing fundamentals are part of that handoff. Reach out through our training program page to see how routes are structured and what the onboarding looks like.
The Compounding Return
Plumbing knowledge does not show up as a line item on a service invoice. It shows up in the calls you do not have to make twice, the parts you do not have to order overnight, and the homeowners who tell their neighbors that you actually fixed the problem the first time. On a route of fifty accounts, that reputation is the difference between a stable book of business and one that bleeds customers every quarter.
The concepts are not difficult. Suction versus pressure. PVC versus CPVC. O-rings, gaskets, threads, and unions. A pressure gauge that tells the truth. A tool kit that fits in a milk crate. Most of it can be learned in a season of paying attention to the pads you already service.
The technicians who treat plumbing as part of the job, rather than as someone else's problem, are the ones who turn a route into a business. Start with the next pad you stand in front of. Look at it as a system. Trace the water from the skimmer to the pump to the filter to the heater to the returns. Find the unions, the valves, the gauges, the drain plugs. Notice the pipe material at the heater. Watch the gauge while the pump primes. That is the entire curriculum, applied one stop at a time.